While learning, you will be moving around the song quite a bit. Capo offers many different ways for you to travel through your songs efficiently.
Generally speaking, you will move about the song by interacting with the waveform display directly. Swiping your finger on the waveform places you in direct control of the playback location in the song.
You can swipe rapidly to move quickly, or make fine adjustments to your location when reviewing a few notes that just played. We also provide a few shortcuts, as discussed below.
Seeking to a Bar/Beat or Time Location

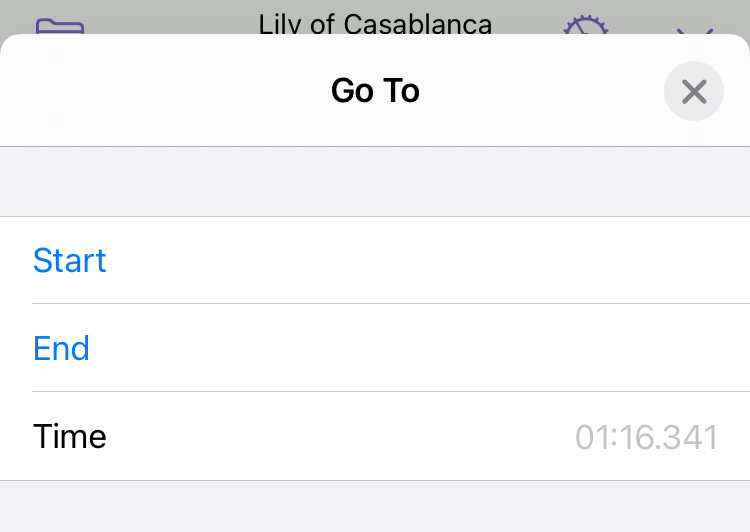
When you press and hold on the position display, you can enter a specific position for you to seek to. Alternatively, you can tap and seek to either the start or end of the song.
The position value you enter depends on the current position display. If you are displaying bars and beats, you will enter a bar/beat value, and if you are displaying the playback time you will enter a time value.
Jump to the Beginning / End
Double-tapping the left or right edge of the waveform will take you to the start or end of the song. This gesture works regardless of whether or not Capo is playing the song.
On an iPad with an attached keyboard, you can also use keyboard shortcuts. Pressing ⌘← takes you to the beginning of the song, and ⌘→ takes you to the end of the song.
Zooming In and Out
Zooming allows you to reveal more or less detail in the song you are working on. Zooming in allows you to see more detail, and makes it easier to seek or scrub to precise locations. Zooming out will give you more perspective on the overall structure of the song, making it easier to create large Regions.
You can easily adjust the timeline scale by pinching the song area to zoom the screen in and out. This is the same gesture you'd use to zoom a picture in the Photos app, for example.
Collapsed Chords
Capo collapses chords in a way that shows the last chord in a group of chord changes, and the collapsing is indicated by an ellipsis (…) character before the chord name. For example, see the …Am shown in the example below.

Zooming in lets you to "break apart" these groups of chords. In the example above, you'll see that zooming in has revealed the Csus4 chord that was hidden by the Am.
Navigating By Region, Marker, or Chord
In the REGION, MARKER, and CHORD Control Strips, you will see a pair of arrows on either end of the controls. These allow you to navigate between points in the song depending on which Control Strip is currently active.
Navigating by Region
When navigating by region, Capo treats the start and end of a region as two separate locations. For example, you will move to the end of a region before moving to the next region. Because of this, two adjacent regions will seem to require that you to move forward or backward twice to get to the next region.
When a region is active (i.e. selected, and ready to loop), moving to another region will also change the active region. This lets you quickly transition between the looping regions that you wish to practice.
Navigating by Marker
Marker-based navigation is quite straightforward—you simply navigate between the marked points in the song. When used in conjunction with the Transcription Cursor, you can move the start of playback between pre-determined points in the song.
If the current marker is selected (i.e. ready to be deleted), moving to another marker will also change the selection. This lets you quickly delete the markers you no longer need.
Navigating by Chord
This is similar to Marker-based navigation&madsh;you can think of the chords in a song as markers that contain important musical information. They are placed at meaningful points in time, and navigating between chords can be a helpful method of moving around.
Unlike regions and markers, the selection state of chords do not change as you move around. We plan to change this in a future update.
Last updated: August 19, 2021